Unfortunately way too many players do the Pac Stan totally wrong! They don’t know what to prepare and how to set the jobs up for maximum success. But then again… learning by failing is a great, but very slow way to do things! 9 out of 10 attempts to make a withdraw from the Pacific Standard fails!!! It is harder than you think! The bullets from the police hit hard!
The biggest mistake is that players believe they can do this easy and simple and then they get killed over and over trying to do the setups and the Pac Stan job. But there are a few very important things to be aware of in order to be a successful heist leader!
The key is: Use all the armor you can get!
We have done a lot of these jobs as ’employees’ and the typical mistake is that unexperienced heist leaders believe that these jobs can be done in summer clothing or some funny mask suit. It can’t! Well yes, the photo job (Vans) can, but the rest of the jobs – NO! You WILL die!
So when you as the heist leader set up these jobs make sure you select Player Saved Outfits! And ask people to wear The Heavy Armor Suit which can be bought in any clothing store. Be aware that higher level players have more armor than beginners! So if you take low level players on board make sure they are inside a Kuruma or otherwise safe. They WILL get killed! They always do!
If you don’t use armor you are either a beginner or a highly trained professional. It can be done without armor, but you need to know every detail of the job and you need a lot of snacks to keep your self alive!
Prerequisites:
- If you are the heist leader you have to complete all the jobs on the bulletin board.
- $100.000.
- Buy a High-end apartment with a heist room.
How to make Lester consider you a potential Heist Leader:
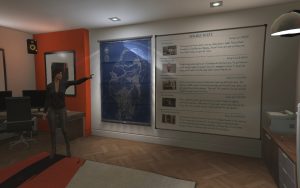
This is very simple. Buy a high-end apartment and after the sale Lester will call you and invite you to his office under the bridge. Go over and visit him and he will introduce you to the details. Then go home to your apartment and enter your office/heist room and look at the bulletin board on the wall. The jobs will be listed there – if you reached level 12.
Here you can press ‘E’ to enter the board and buy the Pac Stan at $100.000.
The Standard Pacific setups:
- Vans.
Get hold of a Post OP van fitted with a transponder that can be programmed to disable the Pacific Standard dye packs. You’ll have to photograph a few vans in the field to identify the right one. - Signal.
Bring the transponder to Avi Schwartzman, a signal expert, so he can tune it to the right frequency for the Pacific Standard dye packs. Avi’s a fugitive hiding out in North Chumash. - Hack.
Borrow a hacking rig from a rival high-end heist crew in Vinewood. Take out the guards, swap the setup of their van and into ours, distract the crew, and bring it to Paige. - Convoy.
Hijack a Merryweather convoy in Blaine County to get thermal charges to use on the security doors at the Pacific Standard. - Bikes.
Source the the getaway vehicles for the Pacific Standard job. Take four state-of-the-art sports bikes from The Lost MC Clubhouse in East Los Santos and store them near the bank. - Finale.
Clear out the flagship branch of the Pacific Standard Bank on Vinewood Blvd. Bust into the bank, control the crowd, crack the vault, pull out what you can, and make a getaway on the bikes.
1. Vans
This setup is widely misunderstood as a lot of Navigators take the wheel and drive off and then the two drivers can circle around in Los Santos doing nothing… It can work but it is NOT team work!
The rules:
There are 2 drivers and 2 navigators and the navigators are also photographers. Drivers can not send photos to Lester. This is THE ONLY job you won’t need heavy armor! Go one driver and one navigator together. The navigator will use the keys a, s, d, w to tell the driver in which direction you are going. Drivers sre also called Shades and navigators called Rainbows.
The Navigator opens his phone and the nav app (in number 9 position). When you approach a Post Van he will close this app and open his camera (in the phone) and take a picture of the plate. If the picture is bad Lester won’t say anything and the camera will show the image and you will have to take one more. If the picture is ok Lester will tell you.
Many high level Navigators have done this job several times and if they are driving motorcycle, they can take the photos fast and the drivers can stay home doing nothing!
Don’t touch or drive into the vans. The job will fail if you do! The moment Lester says BINGO (after taking all 4 photos), you can take the car!
Drivers can run in any of their cars, bikes are preferable as they are fast and provide free sight and the Kuruma is not a good choice as it is hard to take a photo out of the small windows.
Find the 4 Post Op vans.
The first van can be found at Richmann, Golfing Society, Rockford Hills, Portola Drive, Rockford Drive West Vinewood, Eclipse Blvd.
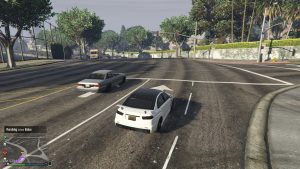
Post Van (upper left) at Richmann close to GWC and Golfing Society.
Make sure that all 4 photos are taken before taking out the driver with a single silenced shot! Noise and multiple shots will alert the police and then you have to drive around in the city trying to loose the cobs.
You can also just pull the driver out of the car. The police won’t be alarmed.
Taking 3 photos will give you platinum ranking in the setup.
The van with the transponder is always the same.
2. Signal
There are 3 main ways to do the Signal setup.
- Boat
- Helicopter from LSPD in Vinewood or the Hospital in.
- Car
1. The boat is exactly how lester explains it. Go for the Seasharks on the map.
Even though you have 3 wanted stars, you are not really wanted until Lester says “You have to drop the heat”! If you sail in a policeboat and avoid the radars from the moment by circling around too long from the drop point, it will take too long time before Lester tell you to drop the heat. Go directly to this point. This way you hit a check mark some where in the water that makes Lester talk about the heat much faster and leaves you more time for the action, so don’t try to avoid detection until Lester tells you to drop the heat!
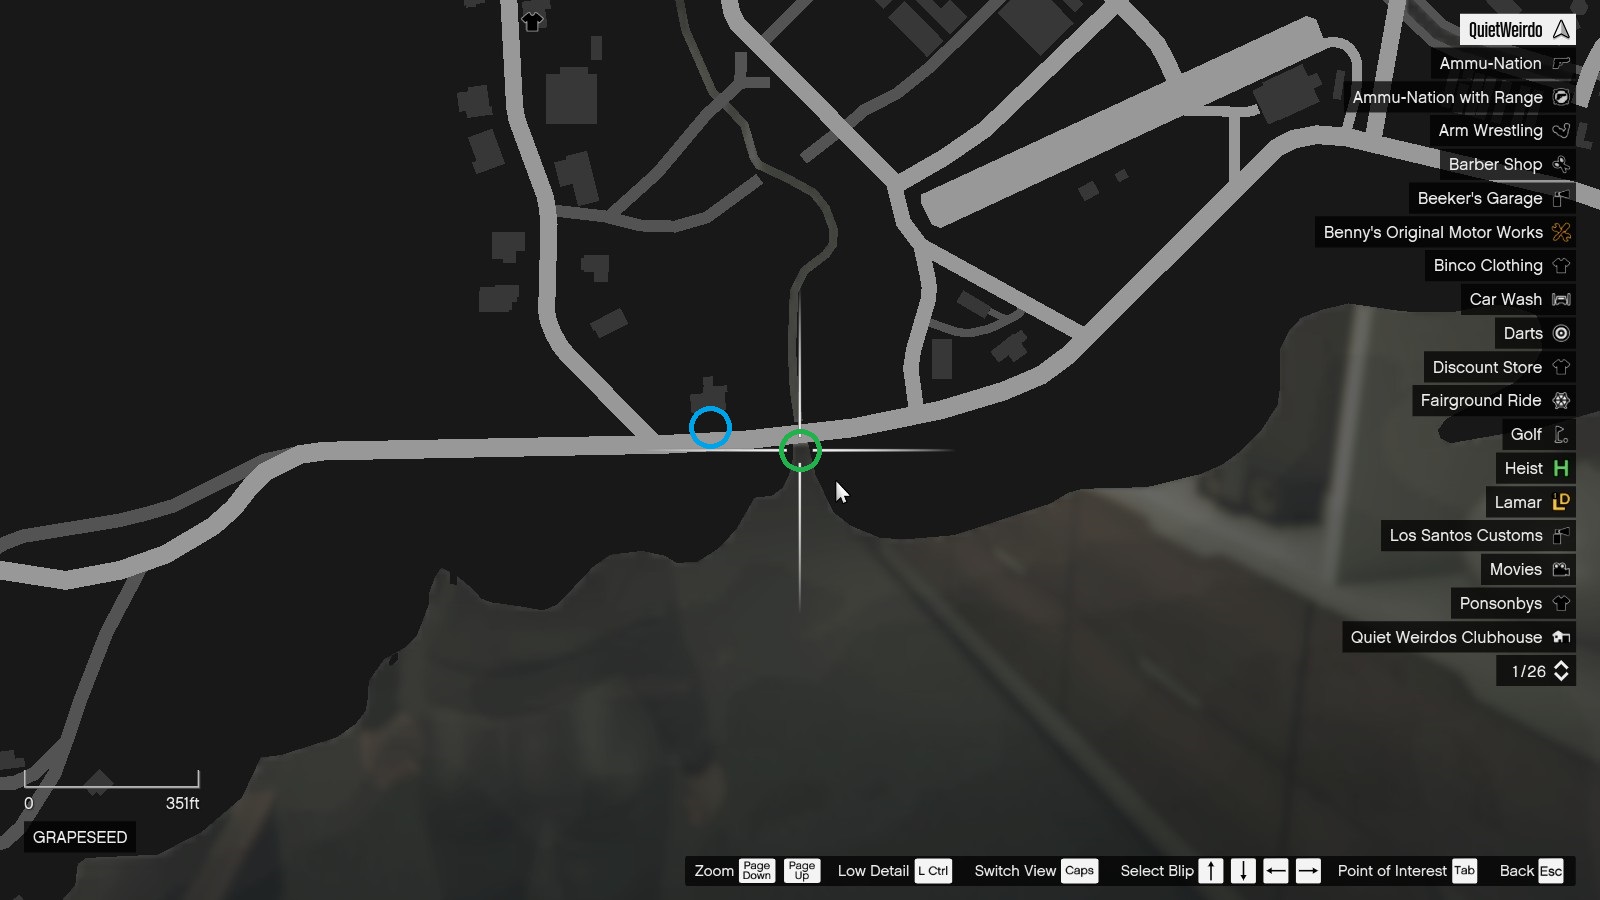
Circle around in the water avoiding the radars and when the heat is gone give the cops 30 seconds to drive off. If you land the boat too early (the green circle) and the cops are not gone, you will get another wanted level – but if your first wanted level is gone it doesn’t matter. You can bring Avy anyway.
If you wait 30 seconds for the cops to drive off, you can steal one of the cars at the blue circle and bring Avy to Paige without any problems.
3. Hack
4. Convoy
The Convoy is a Barrack carrying the thermal charges, a Mesa and an Insurgent Pick-Up manned by a gunner. They are escorted by 3 Savage combat helicopters.
The rules are:
- Don’t damage the Barrack carrying the Thermal charges.
- Whack the Merryweather mercenaries.
- Take at least Insurgent or steal the one from the convoy. It can withstand the Heli’s grenades.
- Don’t use explosives near the Barrack.
- Bring the Barrack to Paige Harris in Grapeseed.
- Use Player Saved Outfits and make sure every body has heavy armor! Low rank means less armor so you have to consider the ranks of the participants. Lower ranks can do it but they have to be inside an armored vehicle and you certainly don’t want them to drive the Barrack!
There is a number of ways to do this:
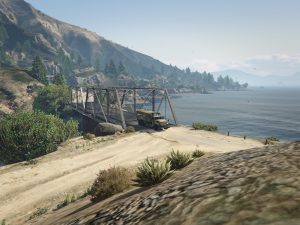
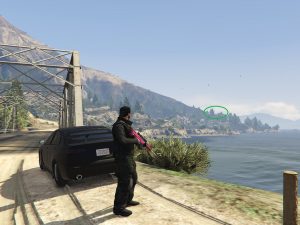
- Kuruma. Go to the ambush point by the bridge at Raton Canyon, drop off one or two players with the Sniper Rifle or the Heavy Sniper Rifle – both with the Advanced Scope, and take out the helo. You need TWO cars for this! The second car which is a Kuruma drives up in the mountains to take over the convoy BEFORE the two next helos arrive!
- Insurgent. If you use an Insurgent you don’t need to stop at the bridge to take the first heli down. One of the first things to happen when you meet the convoy is that the first heli explodes your car! But if you drive an Insurgent it doesn’t matter. It will survive. Other cars won’t. Kill the convoy – take out the gunner in the Merryweather insurgent and when the road is cleared someone steps out and takes the first heli down with a missile.
- No armored car. You can also take the first heli down from the checkpoint at the bridge, wait for the convoy, take it out on the bridge and then wait for the two remaining helis, take them out and then bring the convoy to Paige. This way you only have to take the Merryweather Mesas out while driving.
The first helicopter will appear on the lowest point of the highest mountain between the top of the trees.
1 player with Heavy Sniper Rifle and one with normal Sniper Rifle.
Meanwhile the rest of the team can go in the Kuruma and meet the Merryweather convoy in the mountains. It is important to go fast because the closer you are to Grapeseed, the shorter the distance where you are exposed to Merryweather backup teams in Mesa vehicles.
You can stop all four of you and shoot at the helicopter, but the convoy will come closer and you have to drive a longer distance in the truck exposed to Merryweather. This way you need only one Kuruma.
Stay inside the Kuruma and take out the gunner in the Insurgent first. He is dangerous and a few well placed rounds can take players out even though you are inside a Kuruma.
Convoy has just been taken and two more helicopters are approaching.
Then take all the other Merryweather mercenaries out. After that 2 players take the Insurgent and along the road they have to take out two more Savage helicopters – so the gunner has to keep an eye out for those and the driver HAS to stop the Insurgent as it is very hard to take them down when jumping around. It will only take a few seconds to take them down anyway.
The Insurgent goes first. Then the Barrack and the last person should go in the Kuruma behind the Barrack to stop Merryweather patrols attacking from behind. If you went in two vehicles leave one of them behind. If you loose the Kuruma go three players in the Insurgent. The driver in the Insurgent should also keep an eye out for the helicopters and drive the car in to position for the gunner. As a gunner you have plenty to look for so the driver should use the horn if he sees a helicopter. Always look in the chat if you are not voice connected.
Further up the hill there is a road block consisting of two Barracks and one Mesa. The Insurgent takes them all out. All of them! Run into the Mesa in the middle to make room for the truck you stole, stop and take out all the Merryweather people. And keep an eye out for the helicopters!
All the Mesas and all the Mercenaries has to be taken out by the Insurgent. Otherwise they will damage the Barrack with the thermal charges.
The player driving in the Barrack should be aware of the helicopters too. There will be some corners where he should stop the truck for a second until the Insurgent has taken them down.
If one of the helicopters gets too close and the driver in the Kuruma is fast he can take the heli out with an RPG or a homing missile.
5. Bikes
Make sure you drive in a Kuruma. This is by far the safest and fastest way. Also make sure you select Player Saved Outfits and tell your people to wear armor. AND make sure you only use people who bought the heavy armor dress in Sub Urban or one of the other stores.
6. Finale
There are several ways to do the Pac Stan. Here are four ways to do it and The Kuruma escape is not covered as it no longer is possible to use this vehicle in the escape.
- The Armored Van – Maximum payout.
- Sea Sharks
- Bikes and The Elite Challenge
- Helicopter and The Elite Challenge
As usual, as a heist leader you offer Player Saved Outfits and make sure your crew members wear armor.
To be fully armored they need to have a suit with heavy vest, heist pants, heist shirt and bulletproof helmet. They also need to go to Ammunation and buy 10 pcs. of armor. Before starting the heist crew members can buy more armor. Armor will slow you down and you will run slower.
Armor is necessary if you are a beginner! If you have done the Pac Stan 25 times you might be able to do it without armor!
You need rank 135 in GTA Online to be able to wear full body armor Capacity up to 10 (Maximum amount).
When you know where all the cops are you can eat P’s & Q’s and using EGO Chasers while running.
The easy way to do the Pac Stan is:
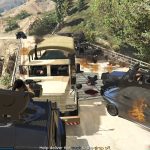
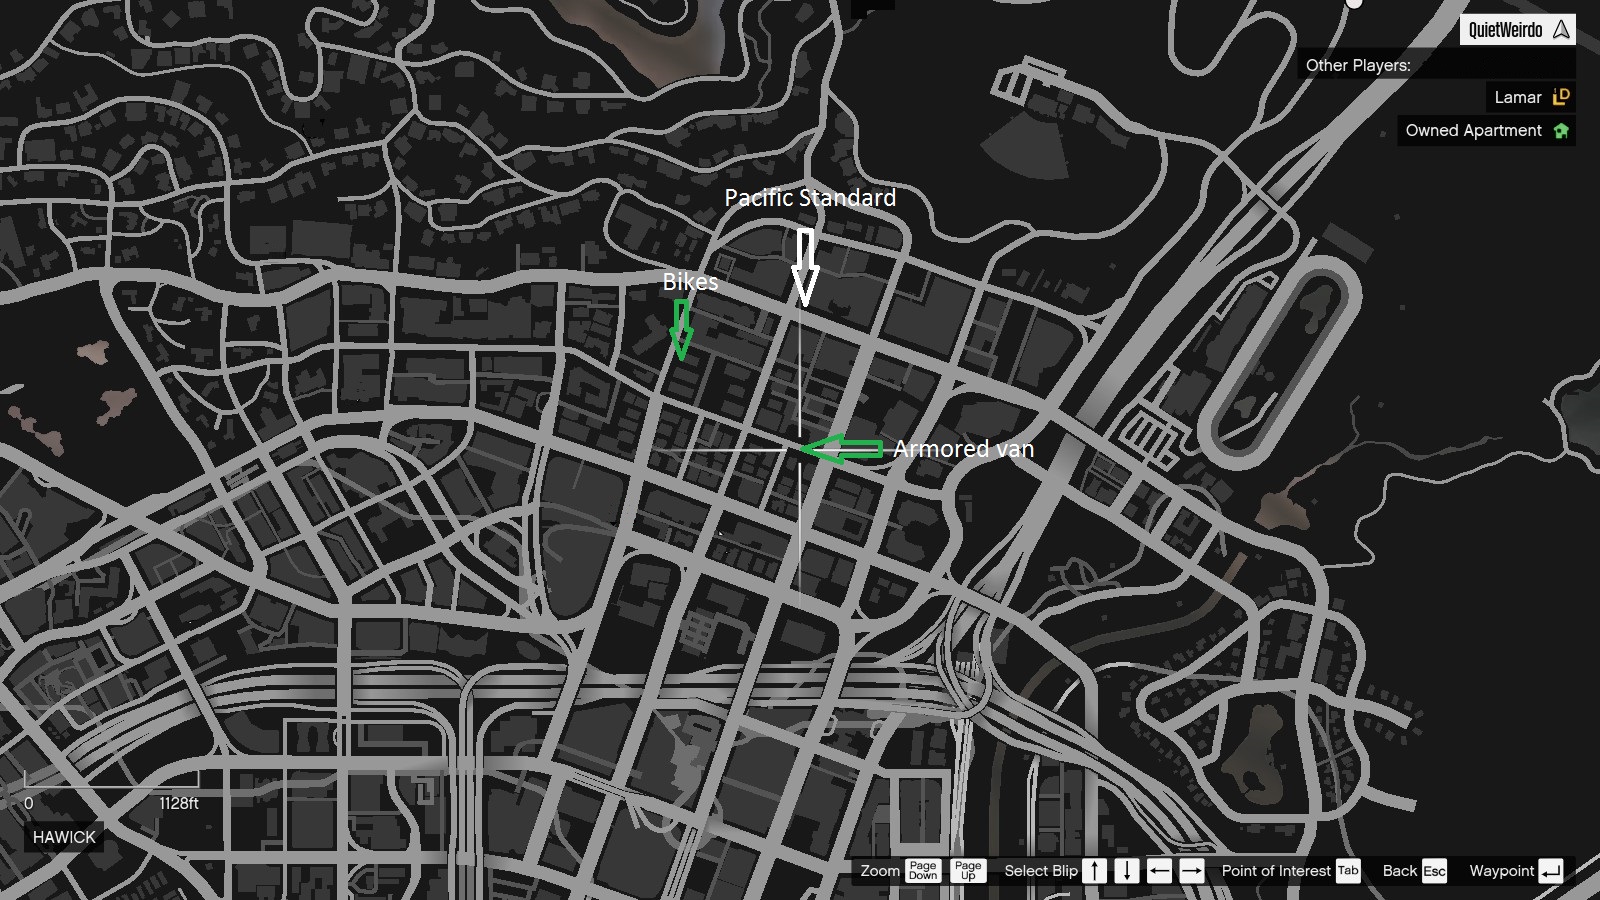
Kill a few hostages to make sure the Noose are called. This will make an armored van spawn here:
It is right at the Ammunation Store:
When the group assembles to escape the Bank one or two groupmembers go to the house. The money guy has to stay in the bank and it would be nice to have at least one more to protect him, because the police will enter the bank!
First thing the money guy does is to go behind a wall! The rest of the team clears the road in front of the bank including helicopters and run for the alley. It is hard for most people to survive the alley even with armor! You have to eat snacks and put on new armor from the Inventory menu.
Once you get to the bikes you destroy them and kill your self. You will all respawn at the bikes.
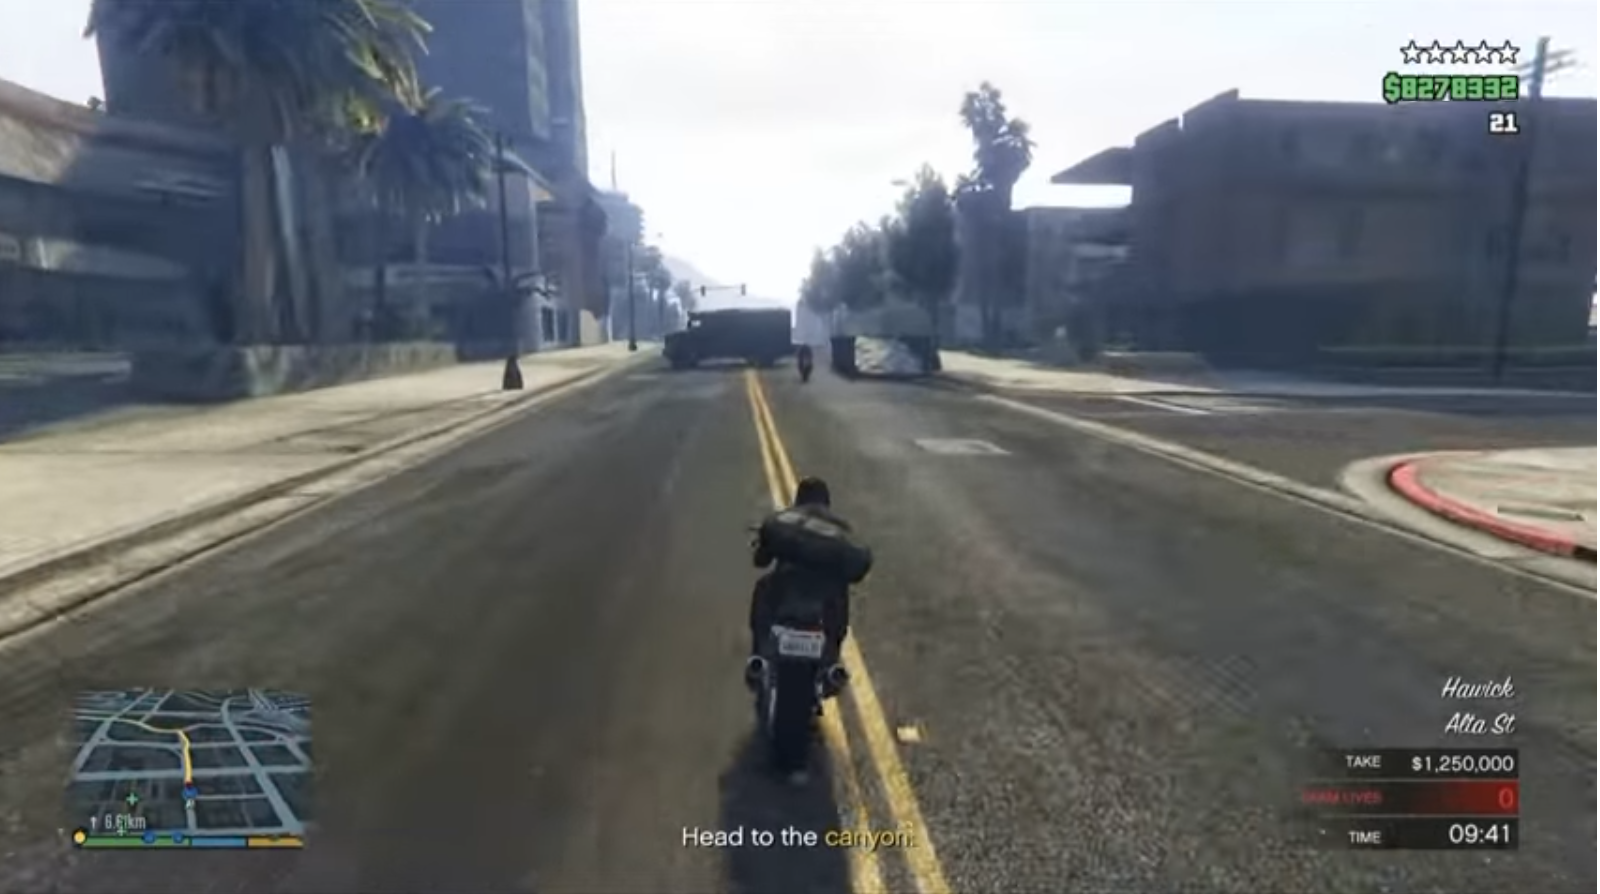
Take the bikes and drive down the road and to the left and go to the armored van. Money guy stays in cover of the van while the rest of the team takes care of the cobs. Money guy goes in the back of the van as this is bulletproof.
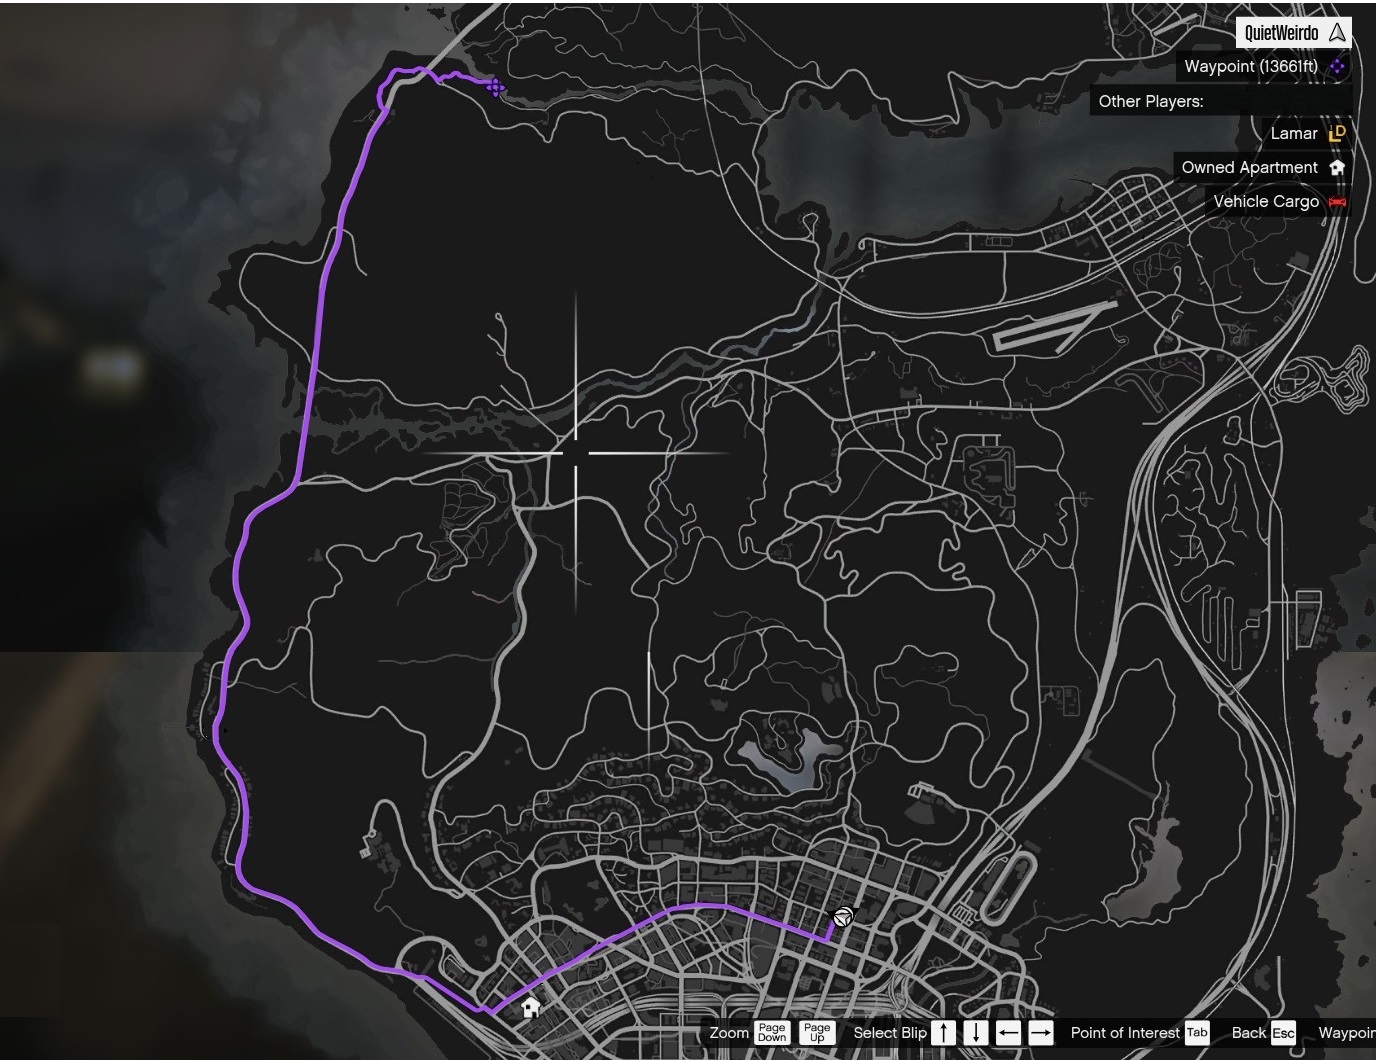
The escape route:
 GTA 5 ONLINE TIPS